Windows 11 Snipping Tool - Beginner's Guide
Date First Published: 10th March 2026
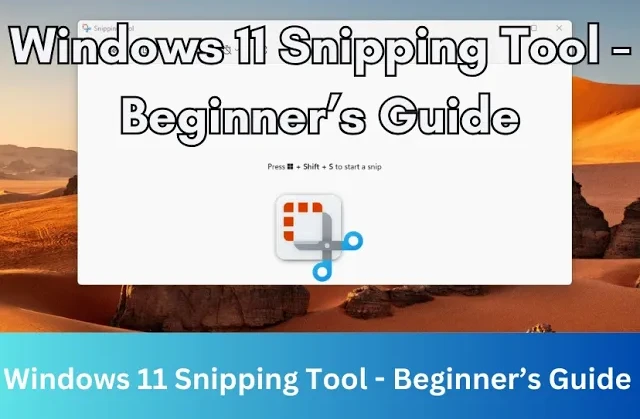
The Windows Snipping Tool is a built-in utility for capturing, editing, and sharing screenshots or screen recordings. It's a basic and straightforward tool and will save you a lot of time compared to using Print Screen. In this beginner's guide, we will show you how to use its features so you can capture and edit screenshots effectively.
How To Open The Snipping Tool?
To open the snipping tool, tap the Windows key, search for it in the start menu, and select the app from the results. Once open, right-click the icon in the taskbar and select "Pin to taskbar" for one-click access in the future.
Capture Modes
When you start a new snip, you can choose from four modes at the top of your screen. Rectangular snip is the default mode. You can drag a box around a specific area you want to capture. With freeform snip, you can draw any shape around an object with your mouse or stylus. To capture a specific window, choose Window mode. If you want to capture your entire desktop, including all open windows, select full screen.
Recording Video
As of early 2023, the Windows 11 Snipping Tool can also record video. Simply open the tool, select the video camera icon, click "New" and drag to select the screen area to record. It allows for pausing, stopping, and saving recordings as MP4 files. It also supports recording system audio and microphone input.
Editing and Annotating
The Windows 11 Snipping Tool now has robust built-in editing and annotating features, allowing you to crop, draw, and highlight captures without needing extra software. You can use the ballpoint pen or highlighter in different colours to mark up images. To do this, click on the pen or highlighter, choose the colour, and adjust the size to the preference. You can then add the annotations anywhere on the page.
You can also add shapes to the screenshots. You can choose from emojis, squares, circles, arrows, and lines and customise the colours. You can simply use the cursor to draw the shapes.
If you want to remove an annotation, you can use the eraser and scroll the cursor over the mark up you added. To remove all annotations from the screenshot at once, select erase all mark ups.
To crop a screenshot, select the Crop button. Then, adjust it to the precise size and click Apply. This is useful for removing any unwanted details. You can edit or revert the crop by clicking on the crop button again.
The text actions lets you automatically detect and copy text from an image. You can copy it into your clipboard or a table. You can also hide sensitive information from your screenshot using the redact tool. Use quick redact to automatically hide email addresses and phone numbers with black bars. To hide specific text the automatic tool has missed, highlight it and select Redact Text from the right-click menu. All text recognition for redaction is processed directly on your device, ensuring privvacy.
Pro Tips For Beginners
The delay button lets you set a 3, 5, or 10-second timer. To set it, select the Clock icon and choose your desired delay time from the dropdown menu. This is useful for capturing right-click menus or tooltips that disappear when you click away. It gives you time to arrange your screen, open folders, or trigger hover animations before it captures a screenshot.
Screenshots are automatically copied to your clipboard and typically saved in the Screenshots folder. You can change this by selecting Open Folder and choosing your desired folder. You can also turn off the option to automatically save screenshots if you find that you often don't need to save them. These same settings apply to the screen recordings. If you want, you can add a border to each screenshot. You can customise the colour and the thickness, which saves having to manually add a border each time you want to share a screenshot.
If you want to share a screenshot with someone else, you can use the Share button in the top menu to send your snip directly to contacts via email or Teams without saving the file first.
Comments
About Us
-
We offer guides, tutorials, and reviews about the world of information technology. Whether you're a tech enthusiast, a professional, or a beginner, our goal is to inspire you and guide your tech journey. Subscribe to stay updated with the latest videos and explore the exciting world of computing and information technology.
Recent Articles



Recent Quizzes

Subtopics
Network Services Network Setups Network Standards Network Hardware Network Identifiers Network Software Internet Protocols Internet Organisations Data Transmission Technologies Web Development Web Design Web Advertising Web Applications Web Organisations Web Technologies Web Services SEO Threats To Systems, Data & Information Security Mechanisms & Technologies Computer Hardware Computer Software Ethics & Sustainability Legislation & User Data Protection